
The legacy version of the Pages system is only used for the mobile website. Pages 2.0 is the new app exclusive CMS of Shopgate. Find out more.
What is a page widget?
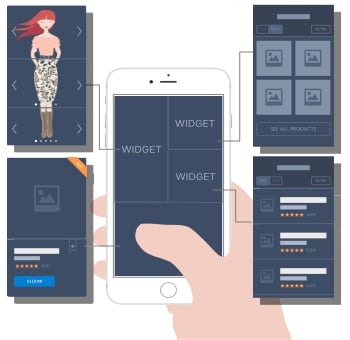
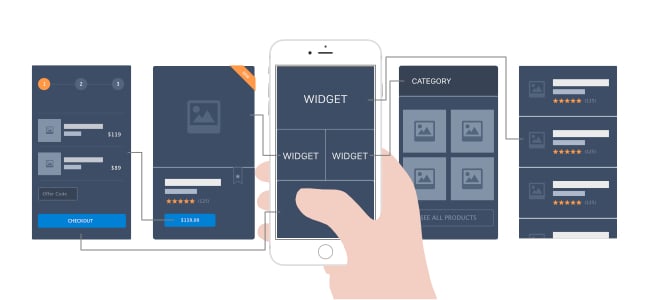
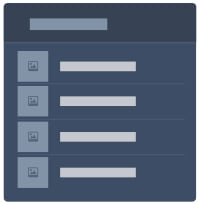
A page widget is a special "building block" used to build a mobile page on your apps and mobile website. Offered here in various sizes and styles, widgets can be used to create a unique and impressive look for your shop and brand. When tapped on a mobile screen, each widget can open a category, a list of products, search results, and many other pages.

How to use a page widget
- Log into your Shopgate Admin.
- Navigate to Design → Pages.
- You will find a drop-down labeled "Add a new widget" on the right side.
There are several different widgets to choose from:

|
|
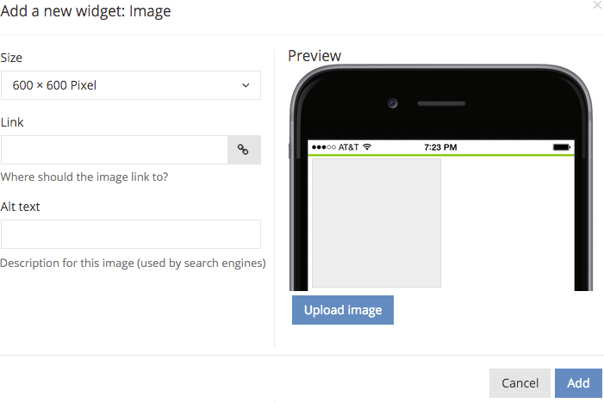
Step 1: Choose an image size.IMPORTANT: Please choose the right size before you upload the image. The current system does NOT allow any size changes afterwards.
Step 2: Click "Upload Image" to add an image.
Step 3: Add a link to your image.
Step 4: Add a title ("Alt text") to your image.
Step 5: Save the image.
|


 and
and  ; Reset with
  .
.
|
|
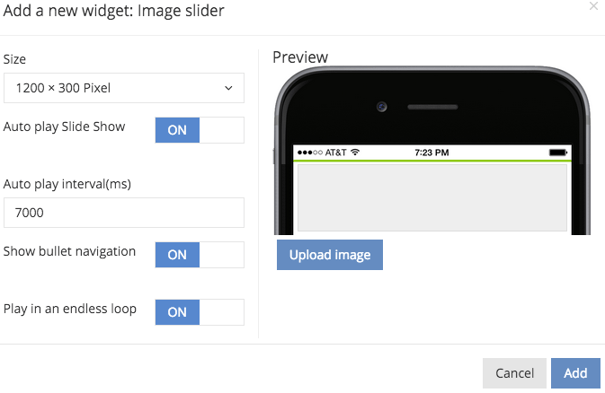
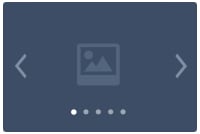
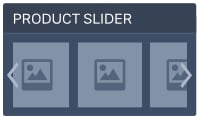
An image slider is used to display multiple images. A user can view the images by tapping on the left/right arrows or swiping an image left or right. Step 1: Choose a size for the image slider.IMPORTANT: Please choose the right size before you upload the image. The current system does NOT allow any size changes afterwards.
Step 2: Click Upload image to add an image.
Step 3: Add a link to your image.
Step 4: Add a title ("Alt text") to your image.
Step 5: Add another image to the slider.
Step 6: Configure slider behaviors.
Step 7: Save the slider
|


|
|
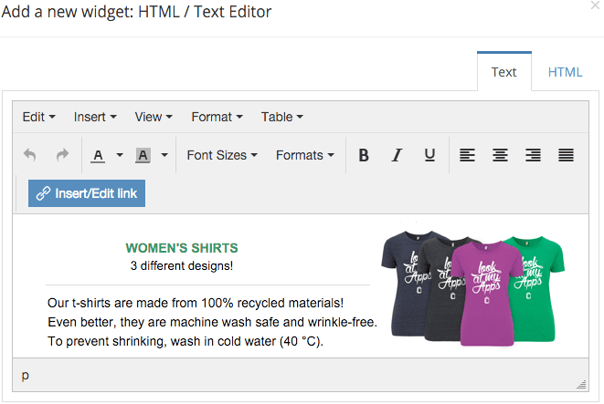
A text editor can be used to create a customized content block. Step 1: Create content.
Step 2: Use HTML mode.
Step 3: Save the code.
|


|
|
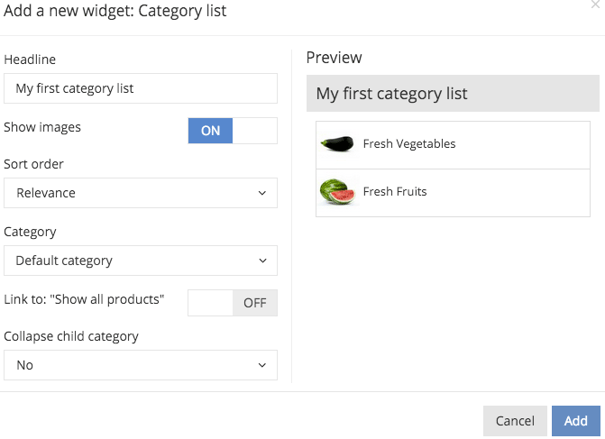
Step 1: Choose a category.
Step 2: Configure list behaviors.
Step 3: Preview the list.
Step 4: Save the slider.
|


|
|
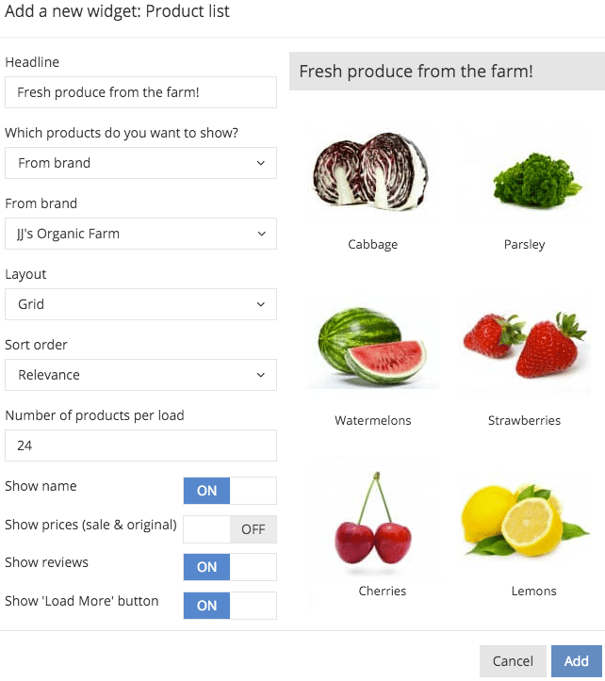
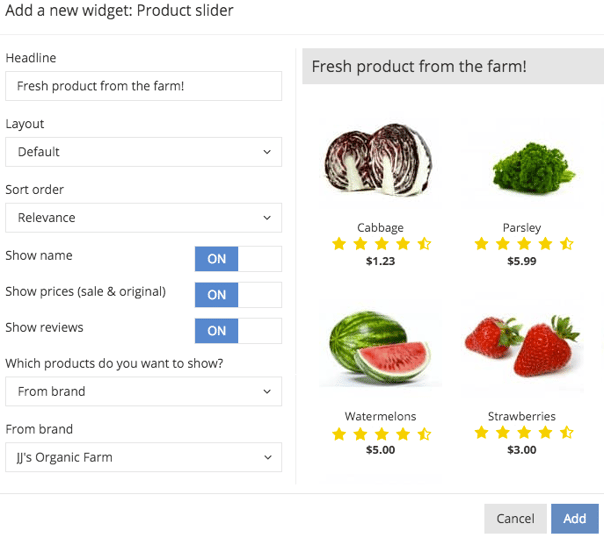
Step 1: Choose products.
Step 2: Configure list behaviors.
Step 3: Preview the list.
Step 4: Save the slider.
|


|
|
Step 1: Choose products.
Step 2: Configure list behaviors.
Step 3: Preview the list
Step 4: Save the slider
|


|
|
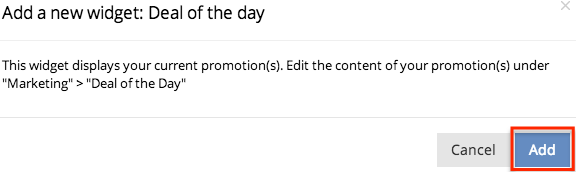
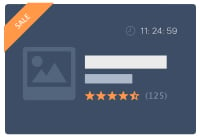
Step 1: Add the widget.
Step 2: Go to "Deal of the day" page.
Step 3: Configure a "Deal of the day" promotion.Note: Time is in 24-hour format.
|


|
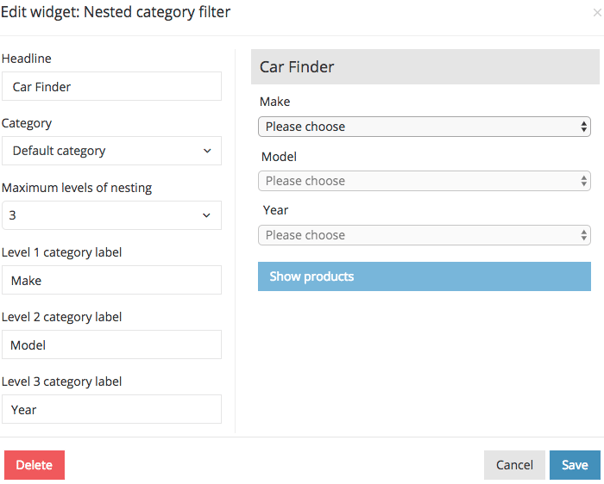
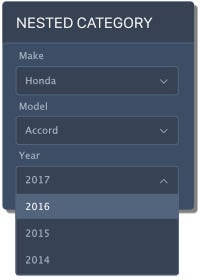
|
Step 1: Select a category with nested subcategories.Step 2: Configure the filter.
Step 3: Save the filter.
|

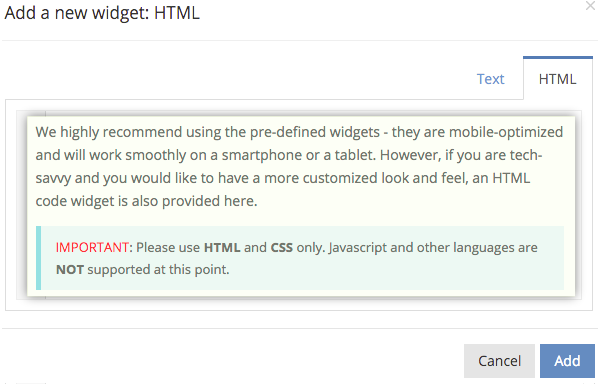

|
|
Step 1: Enter your HTML code.
Step 2: Test the code behavior.
Step 3: Save the code.
|

Frequently Asked Questions
Where can an image link to?
Graphics uploaded via the Shopgate Page Layout Widget can be linked to a page or service listed here:
| Within the App or Mobile Website | |||
| Product Page | Category Page | Homepage | Shopping Cart |
| Favorite List | My Orders | My Account | CMS Page |
| Shipping Info | Payment Info | Coupon Page | Add Coupon To Cart |
| Search Result | Terms & Conditions | Return Policy | Imprint |
| External | |||
| Call Phone Number | Send Email | External Link | |
What is the difference between a product list and a product slider?
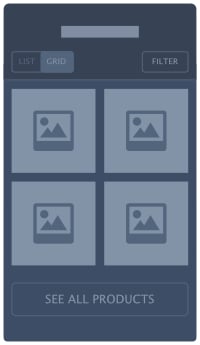
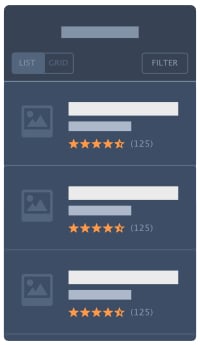
If configured with the same products, a product list and a product slider will display the same products. However, a product slider is smaller in height, while a product list can take up much more space and show more information.

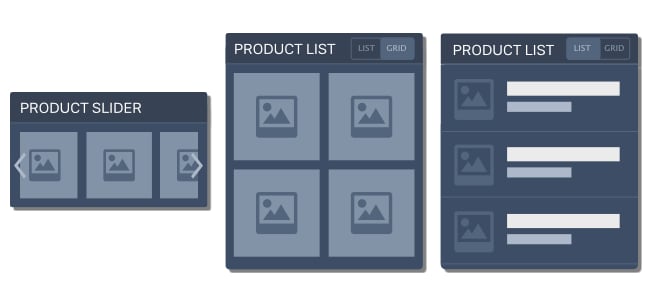
A product slider is recommended to use on the homepage to save space. Product lists, by default, are used everywhere else to display products.