
Overview
With our notifications module, you can send notifications to your customers via SMS and push notification* (*only in combination with Shopgate shopping apps). You can use notifications to send planned marketing campaigns or transactional notifications. One example is sending a message to your customers to keep them up to date on their order status.
Notifications consist of two parts: templates and campaigns.
Templates let you prepare the content you want to send, and campaigns let you define when and to which customers the notification is sent. Using templates is optional, as you can also define the content of the notification directly when creating a campaign. Templates are useful if you want to reuse them for several campaigns in the future.
Templates
You can find the templates in the Shopgate backend under Marketing › Templates.
When you open the templates for the first time, you'll notice that some templates already exist. These are the default templates for push & SMS transactions, which are created automatically when your shop is set up. You can configure these templates and change their content completely to suit your needs, or delete the templates if you don't want to use them.
You can't send notifications to customers with templates alone. A template must always be used together with a campaign.
Creating a new template
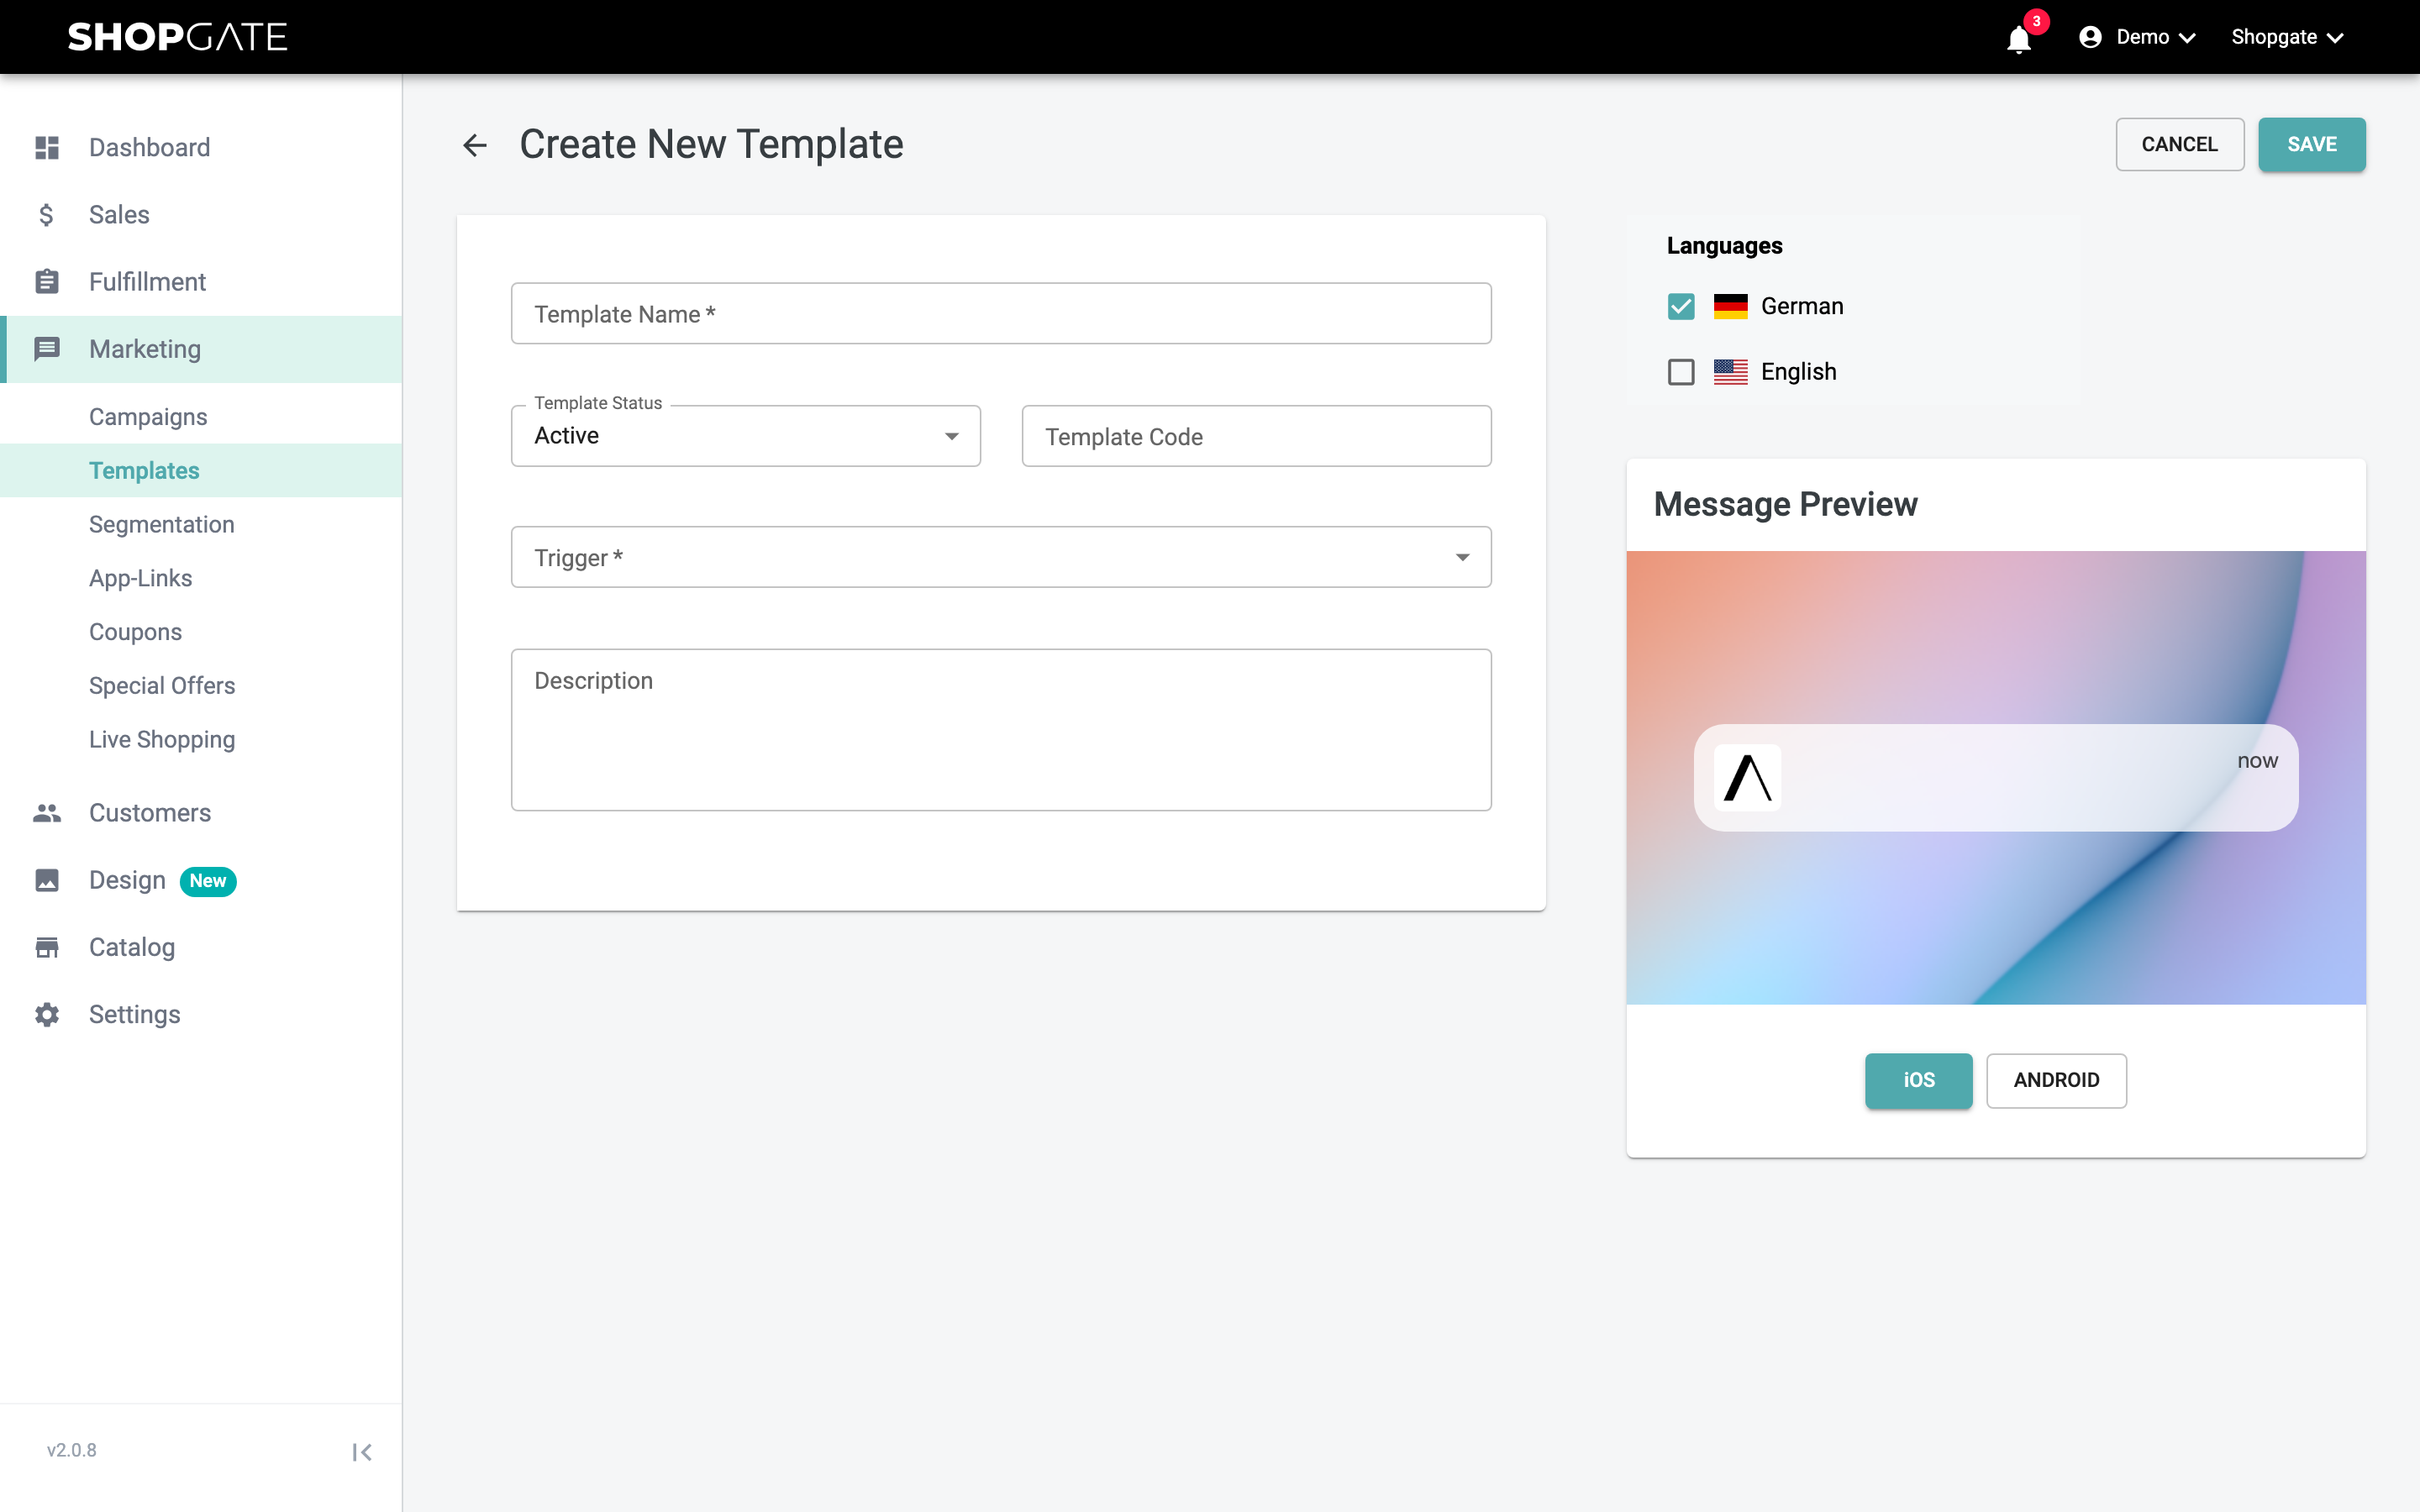
When creating a new template, you can select a "Trigger" that defines when this template should be used.
Use "Schedule/Manual" to send a notification to a group of customers on a specific date and at a specific time, or to trigger it via the API. Use the "Event" trigger for transactional notifications that are sent to individual users based on a specific event (e.g. when the order status has changed). Various events are available for this method.
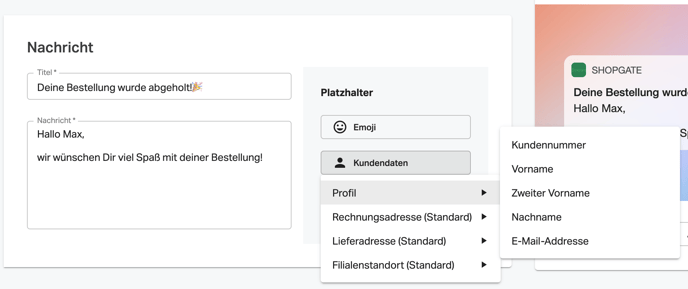
Depending on the selected combination of event type and trigger, different variables are available in your message. For "Schedule/Manual" templates, for example, customer data is available (first name, last name, etc.)
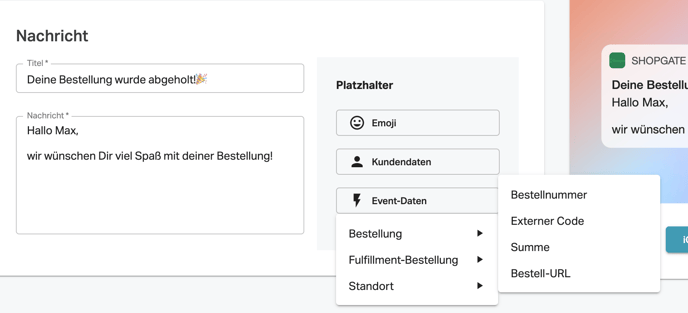
If you select an event, event data is available for use in your message in addition to the customer data variables. The available data depends on the event type, e.g. different data is available for "Sales order added" than for "Fulfillment order updated".
You can configure these fields for a template:
| Field | Description | Example |
| Template Name | Internal name for the template. Choose a simple description that you can easily find later when configuring campaigns | Order completed/Review |
| Template Code | Internal identifier for the template. Used e.g. when accessing the templates via the API | OrderCompletion |
| Template Status | Active/inactive. Can be used to prepare templates or to deactivate them temporarily | Active |
| Trigger | "Schedule/Manual" or "Event" | Schedule/Manual |
| Event Type | Only available if "Event" was selected as the trigger | Sales order added |
| Description | Optional. Internal description of the template | Notification after the order is completed + review request |
| Title | The heading of the message sent to the customer. Displayed differently in push & SMS (see preview) | Your order has been picked up! 🎉 |
| Message | The message that is sent to the customer | Hi , enjoy your order! |
Campaigns
Use campaigns to schedule notifications and send them to your customers.
To do this, go to Marketing › Campaigns in the Shopgate backend.
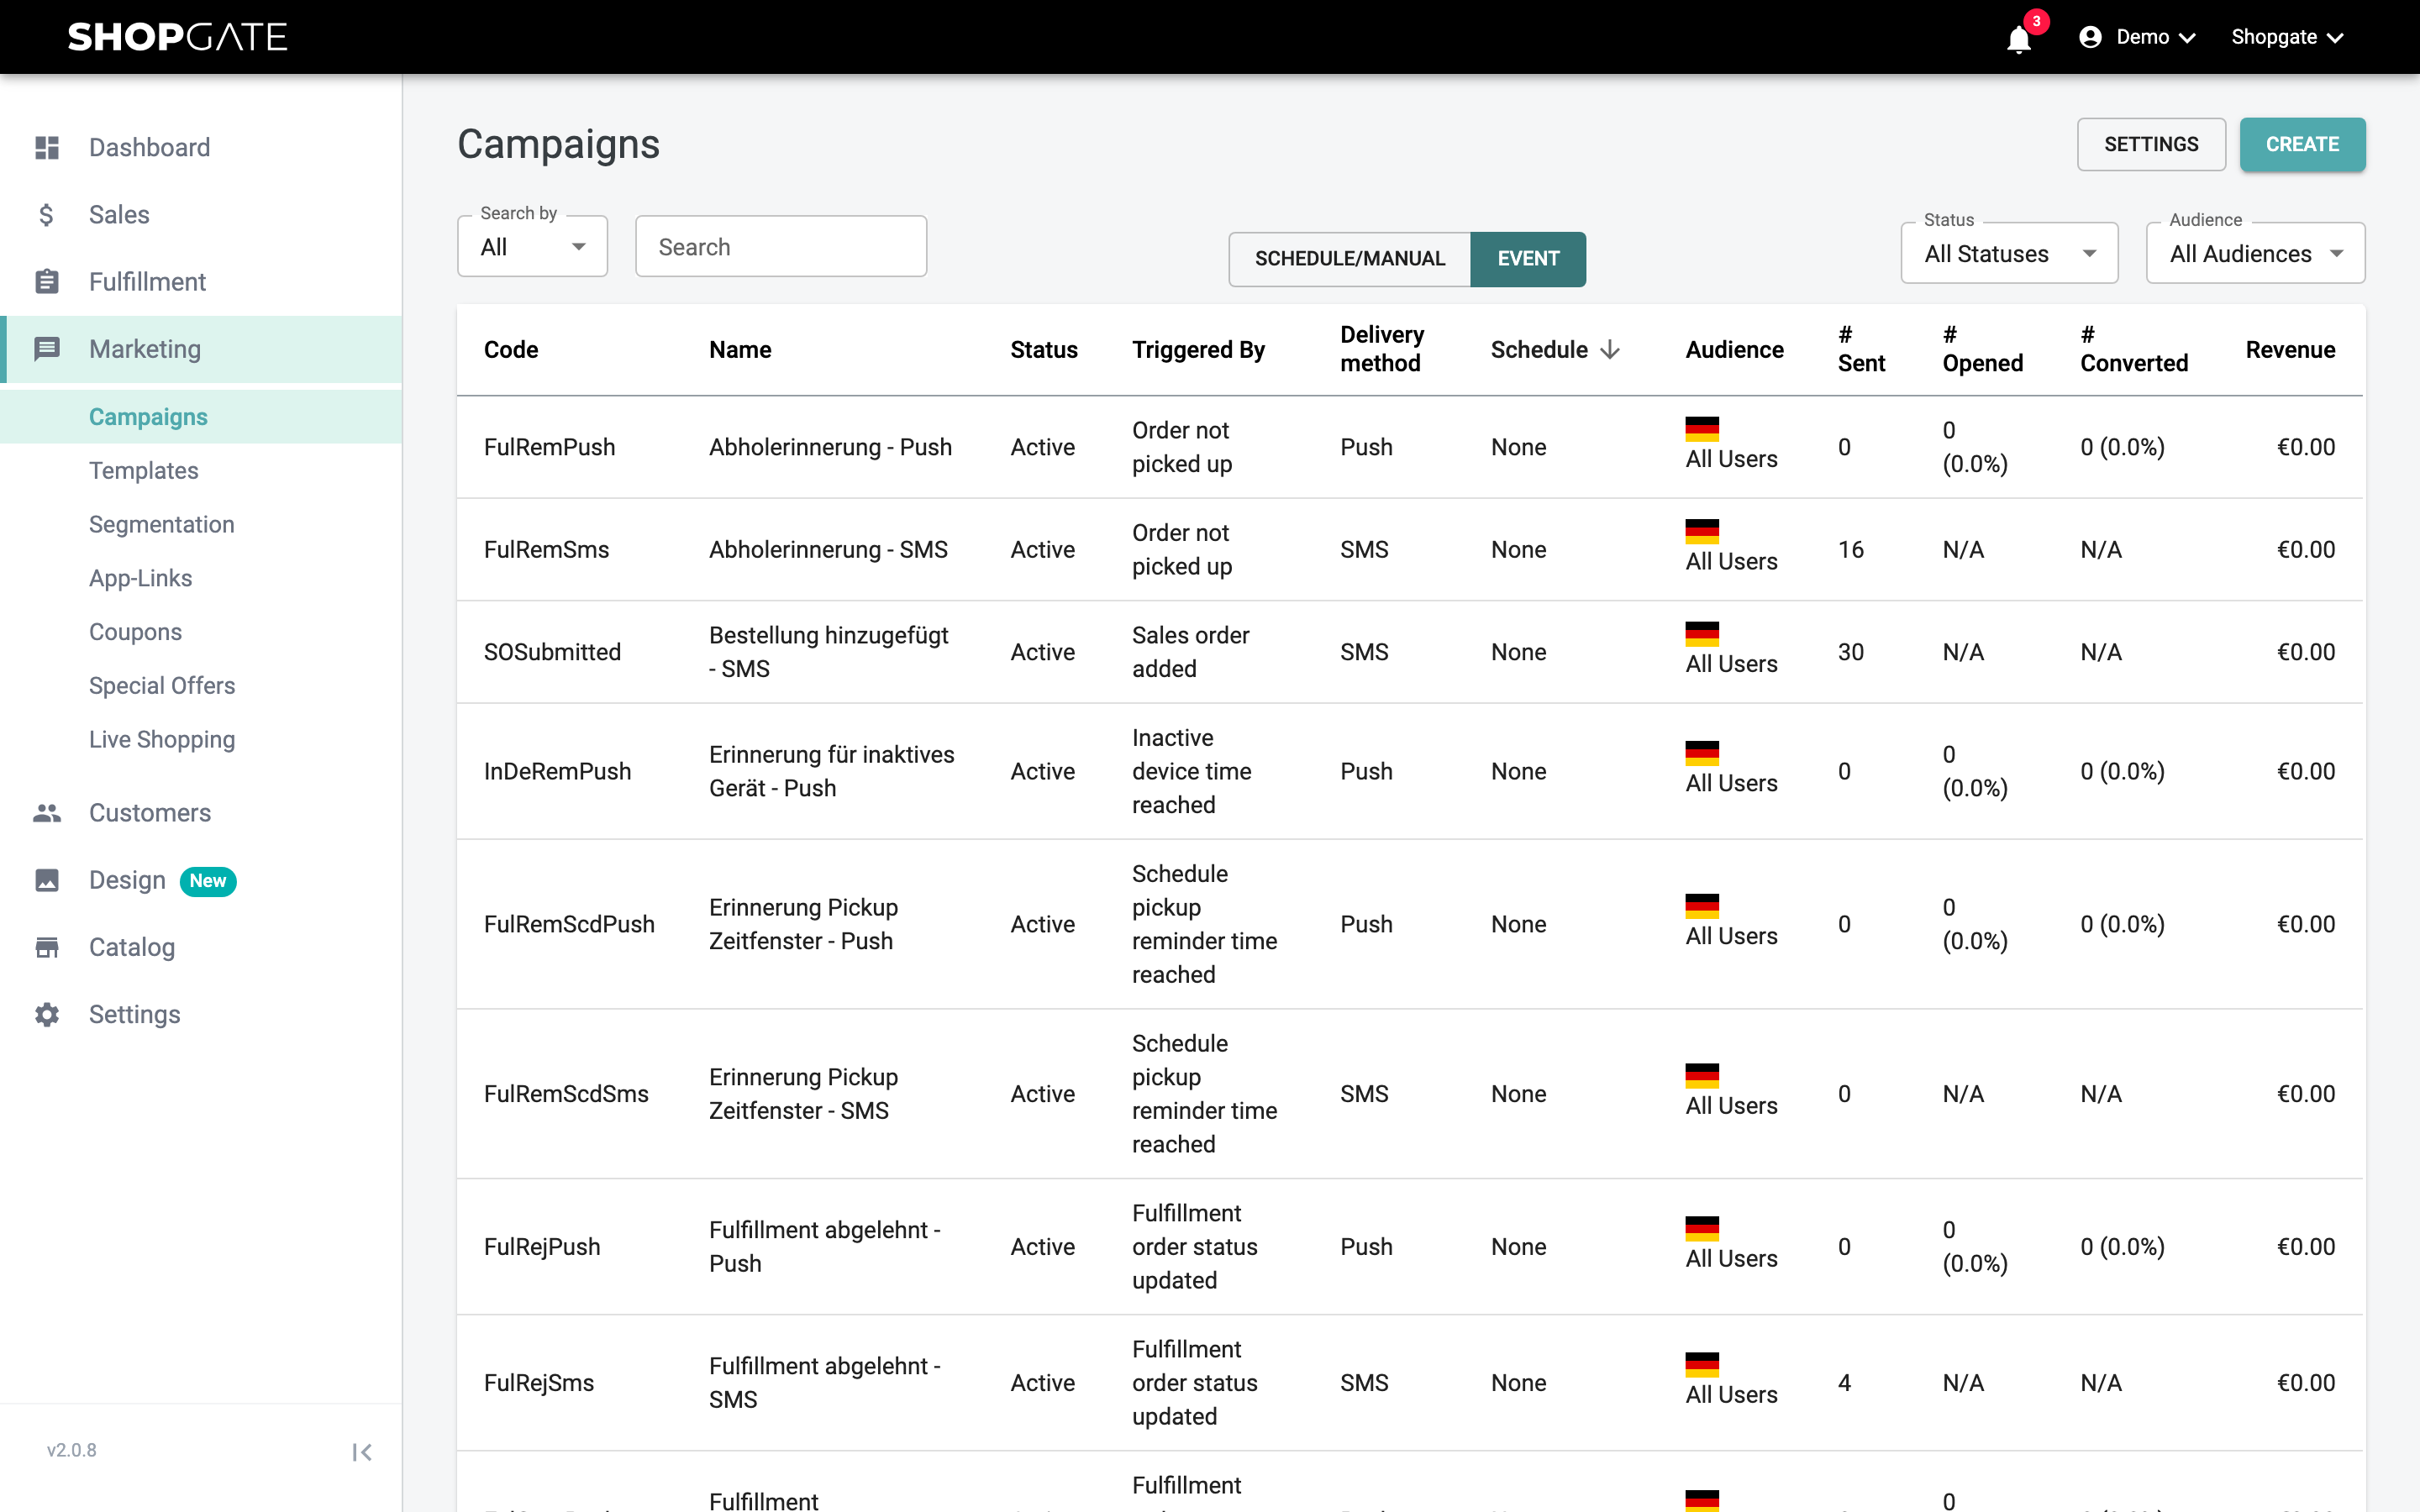
The campaign overview shows the list of all campaigns, whether a campaign is currently active/inactive and how many notifications have been sent to customers via the campaign.
As with the templates, you'll notice when you open the campaigns for the first time that some campaigns already exist. These are the default campaigns for SMS & push that were created automatically. You can edit, deactivate or delete these campaigns at any time if you don't want to use them.
Creating a new campaign
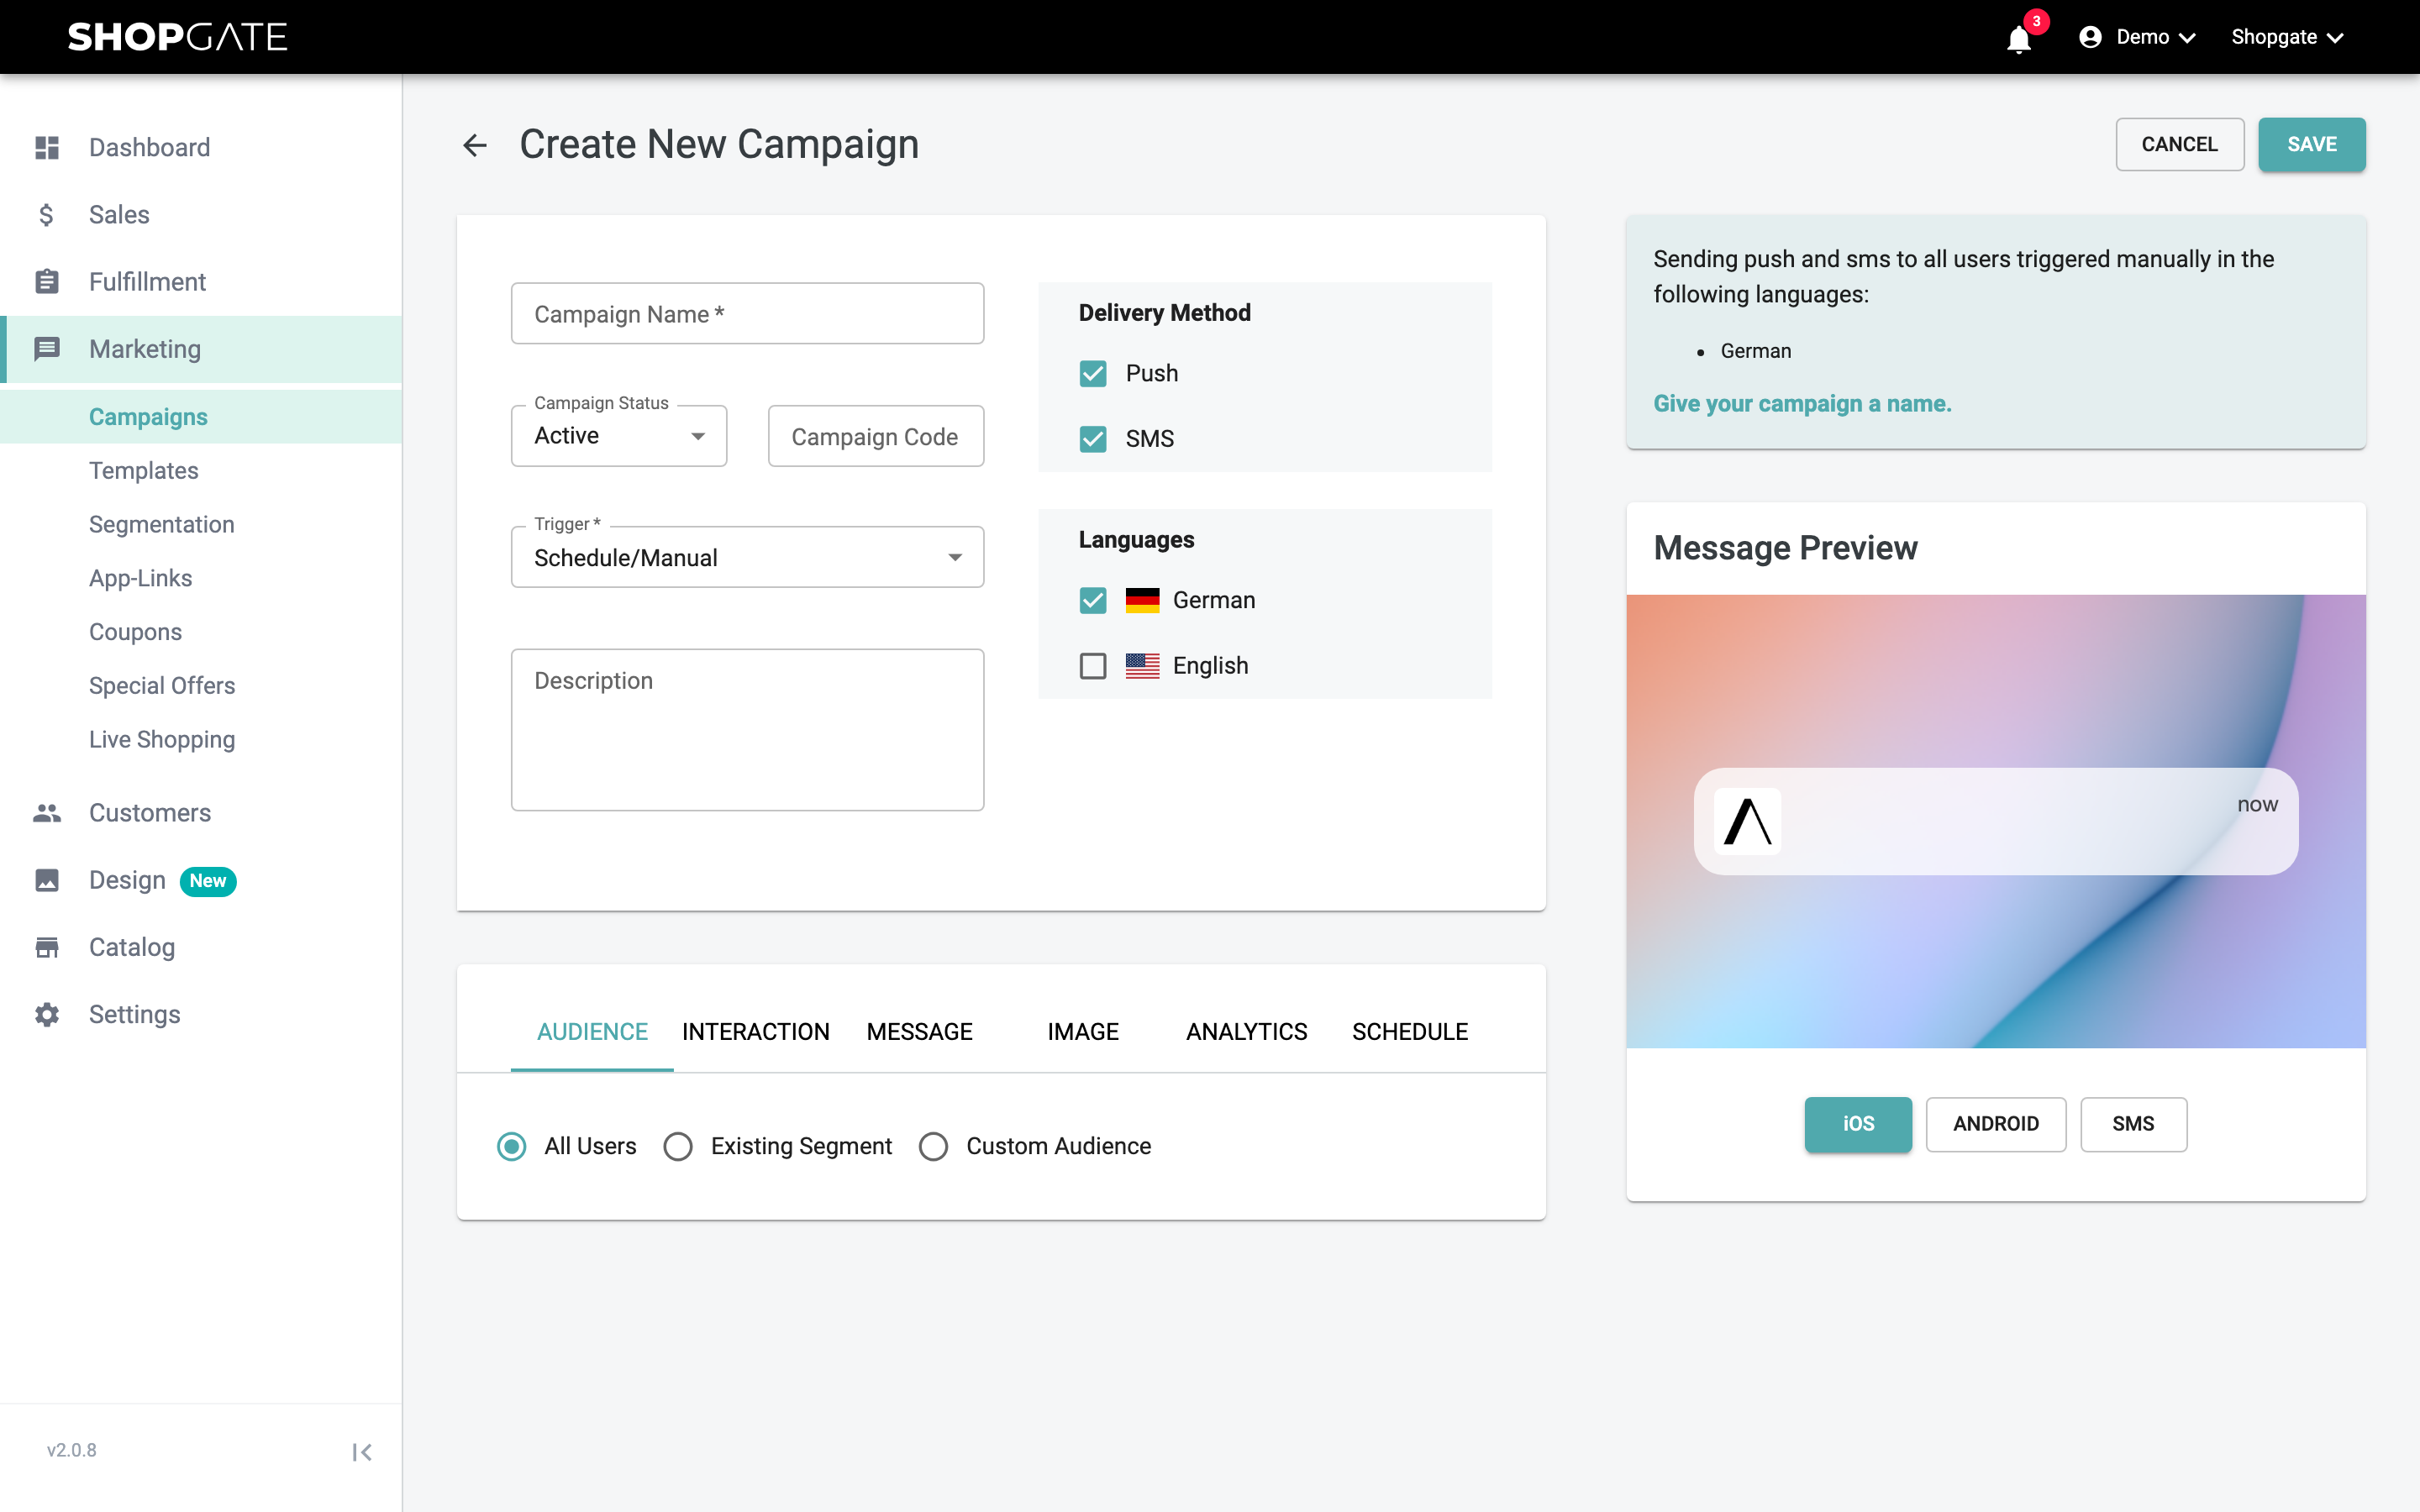
As with templates, you must select a "Trigger" when creating a new notification. It defines when the notification is sent.
The "Schedule/Manual" trigger is used, for example, for marketing notifications that should be sent to customers on a specific date and at a specific time, or if you want to use the Shopgate API to send the notifications.
The "Event" trigger is used for notifications that are sent to individual users based on a specific event (e.g. when the order status has changed). Various events are available.
| Field | Description | Example |
|
Campaign Name |
Internal name of the campaign | Order completed/Review request |
| Campaign Code | Internal identifier of the campaign (used e.g. to access the campaign via the API) |
OrderCompletion |
| Campaign Status | Active/Inactive | Active |
| Trigger | "Schedule/Manual" or "Event". | Event |
| Event Type | Only available if "Event" was selected as the trigger | Sales order added |
| Description | Optional. Internal description of the campaign | Push/SMS is sent after the order is completed to request a review |
| Delivery Method | Sending the notification via SMS and/or push | SMS |
| Event Trigger Conditions | Only available if "Event" is selected as the trigger. Event trigger conditions let you further narrow down when the notification should be sent. | Only if the order status is set to "Accepted" |
| Audience | Select who should receive the notifications. You can choose All Users, an existing segment or create a defined group | All Users |
| Message | You can either select a previously created template or create the message from scratch. | Template: OrderCompletion |
| Interaction | Only used for "Push". Defines what should happen when the user opens the push notification. | Open app |
| Analytics | Here you can define special parameters that are passed to your analytics tools. | |
| Schedule | For campaigns with the "Schedule/Manual" trigger, you can define on which date and at what time the notification should be sent. For campaigns with the "Event" trigger, you can specify optional start and end dates for when this campaign is active |
Event overview
Shopgate provides various standard events that can be used without an external integration. Some of the events depend on the scope of the products you use. In addition, there are custom events that can be controlled via our API. For example, external marketing tools can be connected this way. If you have questions about custom events, feel free to contact support@shopgate.com
Certain events can be specified in more detail via the so-called "event conditions". This lets you set up individual notifications per store, for example.
| Event name | Description/use case | Available with |
| Fulfillment order updated | A change to the order, for example deleting an item or similar. | Omnichannel Suite |
| Fulfillment order status updated | Lets you send your customers notifications about the order process. Example: the reservation is ready for pickup. | Omnichannel Suite |
| Order not picked up | Sent when "Customer did not show up" was selected in the In-Store App. | Omnichannel Suite |
| Sales order added | Sends your customers an order confirmation for a new order/reservation. | Omnichannel Suite |
| Schedule pickup reminder time reached | Serves as a pickup reminder for local orders if this feature is enabled. Takes into account the time configured for the event. | Omnichannel Suite |
| Cart reminder time reached | Reminder for abandoned carts in the app. These are sent to your customers automatically based on the configured time. | Shopping Apps |
| Inactive device time reached | Sends a message to your customers if they haven't opened the app for longer than the time you configured. | Shopping Apps |
| Sales order fulfillment added | Sends a shipping message when an online order has been marked as "shipped". |
Shopping Apps |
| Custom | In the next step, define the name of the custom event that you address via our API. |
All, Requires an API integration |